
 My friend Zoe from Make it Crafty recently gave away a gorgeous Christmas digi free to newsletter subscribers.
 I think she may still be available, so pop on over to the Make it Crafty FB page to check out the details and sign up (it is worth subscribing on Facebook and via the newsletter so you don’t miss the freebies that Zoe generously gives away from time to time)!
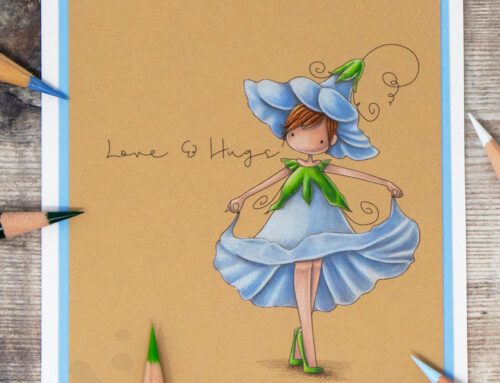
As soon as I saw Phoebe’s Christmas Wish I knew I wanted to create a very simple Christmas card with her cropped to one side. Sometimes I puzzle for ages over how I want to use an image, sometimes I just know.
Keep reading to see the card and for some discussion about Copic reds, a marker palette and speed colouring video. Phew, you may want to grab a tea/coffee first! 😉
The Card:

The Details:
As you can see, I kept things really simple. I wanted the focus to be on the gorgeous image and the sentiment. I love simple, bold designs.
Digital Image: Make it Crafty Phoebe’s Christmas Wish is now available to purchase as a digi along with a host of other fun winter images including scene elements, sentiments and other characters!
I printed Phoebe’s Christmas Wish on my favourite Make it Colour Blending Card before colouring her with Copic markers. I printed her off to one side so that I could cut the A4 sheet down and have her cropped off the edge. The card is A5 size.
Before colouring I die cut the sentiment using a Penny Black sentiment die (Joyous Wishes 51-058). The die cut words were coloured to match my image using a red Copic and laid back in to the paper. I love this “inlaid die cutting” technique, which I first saw on Jennifer McGuire’s blog. It works particularly well on clean and simple card designs like this one. I cut a mat from pearlescent white cardstock, which I coloured with my red Copic marker to coordinate with the image. When I put it all together I decided it needed some extra sparkle, so I added Wink of Stella Clear Glitter Brush Pen to the mat layer and die cut sentiment.
Copic Reds – Colour Combos:
Since this is a Christmas card and we’re well on the way to the festive season I thought this would be a good time to talk a little about red! I often see people lamenting colouring with reds, and I’ve done so myself more than once. Reds can be tricky to work with sometimes, both in terms of achieving a nice blend and also in the selection process.
One of the keys to colouring with Copic reds is how you shade them to add depth. You can create a nice blend with just three red markers, but by adding extra shading with greys, earth tones or a complimentary colour you can up the wow factor. If you print out a copy of the new Copic Colour Wheel available on the Copic website you can easily find the complimentary shades for your chosen colours.
I’ve put together a little comparison graphic showing three of my favourite basic red combinations and different shading options for each.  My usual “go to” Copic red combo is R35, R46, R59, but as you will see on the palette below for today’s card I decided to use the R14,R17,R29 combo together with BG78.
Copic Reds – General Colouring Tips:
These tips may help if you’re having problems colouring with reds or other rich colours. They aren’t hard and fast rules, but may assist you in “troubleshooting”.
- Use a light touch: when colouring with markers in general (and most media) I find it best to use a light hand, and this is definitely the case when colouring with reds and other richly pigmented colours. If you are heavy handed and lay down too much colour at once blending becomes more difficult, and in laying down even more ink to blend you will run in to problems with the ink bleeding over the lines. Use a light touch and lots of layering.
- Feather/flick: rather than colouring in circles, lay colour down with a flicking/feathering motion (this is how I tend to colour in general, so you can see how I do this in my videos). Don’t try to soak the paper evenly.
- Save reds till the end: if you plan on colouring other surrounding parts of your image in lighter colours, colour those areas first so that you can avoid accidentally pulling reds in to areas you don’t want them. At the same time, you may want to allow the lighter areas to dry completely before starting to colour the reds to avoid the red ink travelling into those areas.
- Avoid the lines: if you experience issues with reds bleeding over the lines even when using a lighter touch, try not colouring right up to the lines of your image. This will give the ink a “buffer zone” to move in.
- Don’t fuss with small areas: avoid trying to blend too much in small detail areas, it is almost guaranteed to end in a mess. You can get away without achieving a smooth blend in many small detail areas and avoid a headache in the process.
- Try a different paper: if you are having real difficulties working with reds, you may want to try out some different papers. Barbara aka Forgotten Scraps did some tests on various papers including a “Blending Reds” test. Softer more absorbent papers will tend to bleed more.
- Adjust your colours: if you are having to lay down a lot of ink to blend your chosen colours, you might find tweaking the colour combo helps. Test out some alternatives and see if they play together better. The more ink you are having to lay down to achieve a reasonable blend, the more likely you are to experience issues with bleeding.
I work by adding a base layer of my lightest red shade, then using my shadow colour to lay down the shading followed by my darkest red shade, then the medium red and back to the lightest red again (I usually repeat the last two steps until I am happy). I use a light hand with each layer, and I try not to go over the darkest areas too much.
Colourless Blender & Reds:
I have seen other Copic users suggesting to avoid using the colourless blender when working with reds. This can certainly often lead to a mess, however I have found with Make it Colour Blending Card that I can successfully move reds with the colourless blender and correct mistakes/mishaps to an extent that would not have been possible with other papers I have used.
The way reds and other highly pigmented colours blend and play on the Make it Colour Blending Card is one of my favourite things about it. I have heard that XPress It paper/card is also nice for colouring with reds although I haven’t tested it recently myself (look out for a future post with my thoughts on different papers).
Copic Speed Colouring Video:
Copic Marker Colour Palette:

Thanks for stopping by!
I hope you have enjoyed today’s post as much as I enjoyed creating it for you. Watch this space for more Winter/Christmas themed cards, videos and colouring information. If you’re looking for information on using Touch Twin marker reds, I’ll have a post for you later this week!
You can also watch a video from Zoe over at Make it Crafty where she colours one of her new Christmas images (an adorable Santa digi) and discusses some of her thoughts on reds.
Don’t want to miss out on future posts? Subscribe to my RSS feed in your favourite blog reader or subscribe via email using the form over in the sidebar.


Hi Elaine, another fantastic colouring video – you make it look so easy; I wish it was! Thanks for all your videos and hints and tips, they are much appreciated by myself and others I am sure. Wonderful colouring and a great card. Oh and thanks for the link to the Copic colour wheel. Karen x
[…] promised a post on Touch Twin Marker reds to follow my post discussing Copic Marker reds, and that is still coming, I just didn’t manage to finish it last […]
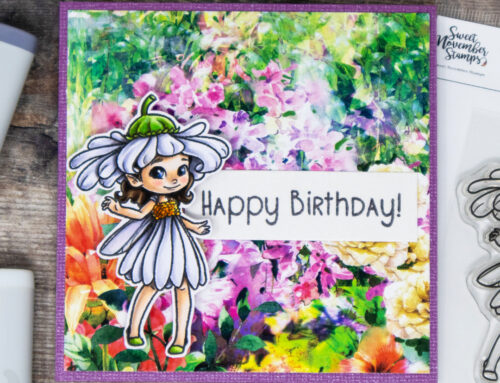
[…] with my Phoebe’s Christmas Wish card, I printed Fairy Poinsettia on my favourite Make it Colour Blending Card before colouring her […]