
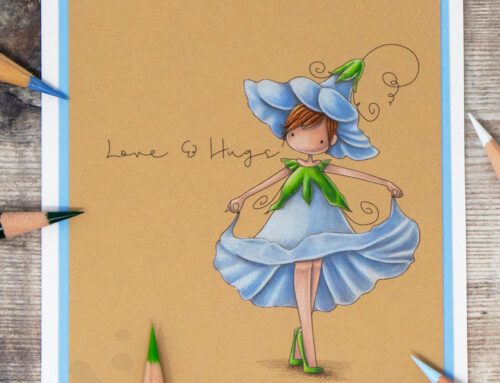
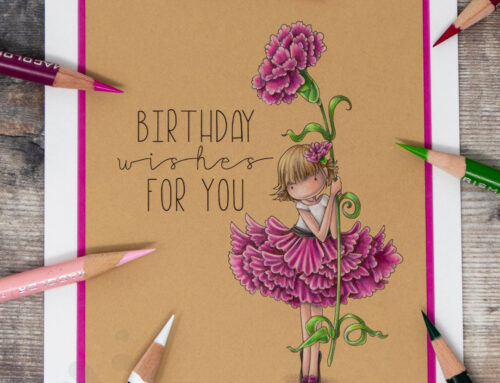
Today I’d like to share a little more detail with you on the creation of one of my favourite cards from the recent Stamping Bella release previews. Join me for a look at how the scene came together, and to watch the full scene colouring process in my latest video.

Mini Frenchie Garden Scene Card:
As soon as I saw the adorable Mini Frenchie stamp set I knew I wanted to put them in a little garden scene. The new Garden Backdrop stamp was perfect, but I wanted to complete the scene somehow. Thankfully I had one of last year’s stamp releases on hand – the Summer Backdrop stamp. Masked with the new Garden Backdrop it creates the perfect setting, filling out the scene beautifully.

To finish off the card I popped the small sentiment from the Danielle Donaldson onlyGretchen stamp set in the top of the archway, by curving it gently on my MISTI stamp tool.
NOTE: if you are in the UK/Europe you can find Stamping Bella stamps at Dies to Die For here in the UK.
Mini Frenchie Garden Scene Copic Colouring Video:
Watch me colour my stamped scene in the video below or in HD over on YouTube.
Full Copic marker details are provided in the video along with a few notes to help explain what I’m doing.
Masking & Stamping the Scene:
I didn’t film the masking/stamping process, but I did take some photos so you can see how the scene came together.


TIP: Clear acetate sheets are your friend when building a scene or stamping a sentiment on a card. I have one dedicated to just this purpose that I store in my MISTI stamp tool, but you can also use the acetate storage sheets that come with your stamps.
I use the sheet to help figure out where I wanted to place elements of my scene, and to make sure I have my stamps lined up straight in my MISTI before stamping. I use it every single time I stamp a sentiment, to make sure I get my sentiment where I want it and straight!


Thanks for stopping by!
I hope you have enjoyed today’s post as much as I enjoyed creating it for you.
Don’t want to miss out on future posts? Subscribe to my RSS feed in your favourite blog reader or subscribe via email using the form over in the sidebar.
If you want to keep an eye on what I’m colouring on a daily(ish) basis, follow me over on Instagram where I share frequent peeks at the colouring I’m doing along with other day to day snaps. You can also follow my page on Facebook if you’d like to connect over there.
Please note that in order to assist with the running of this blog I do use affiliate links from time to time and there may be some in this post, denoted with a *. Please see my About page for more information.

Leave A Comment